You’re probably already familiar with the term ‘Golden Hour’ – the short period of daytime just after sunrise and as sunset approaches. The sky assumes a beautiful golden-like colour and the sun is at its softest. It creates subdued shadows and golden tones when shooting portraits and in landscape photography it can enhance the details and colours of any scenery.
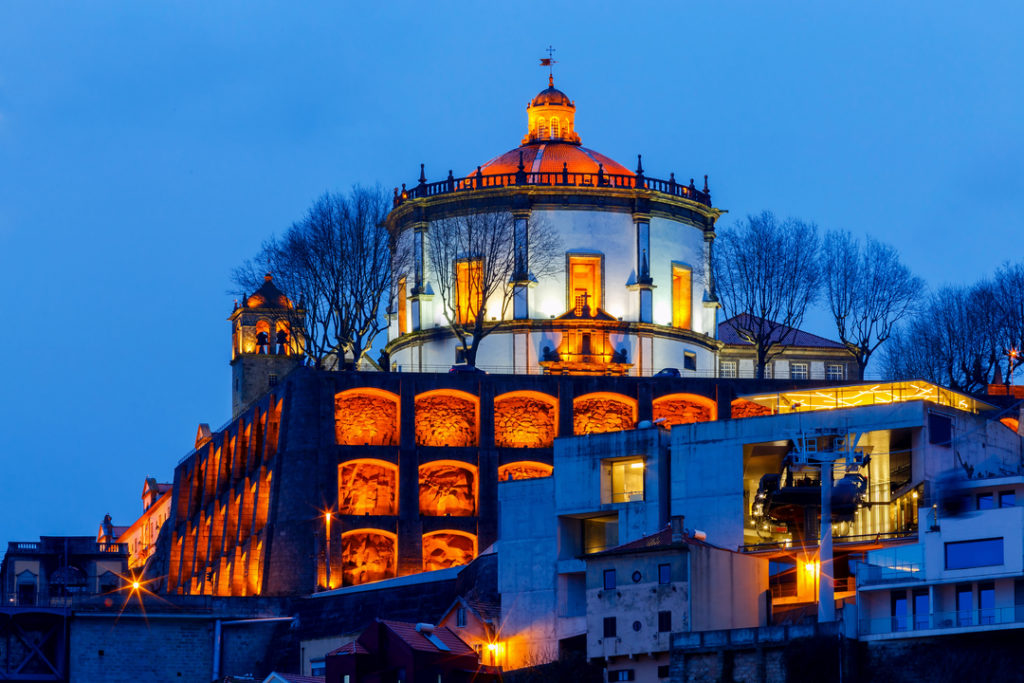
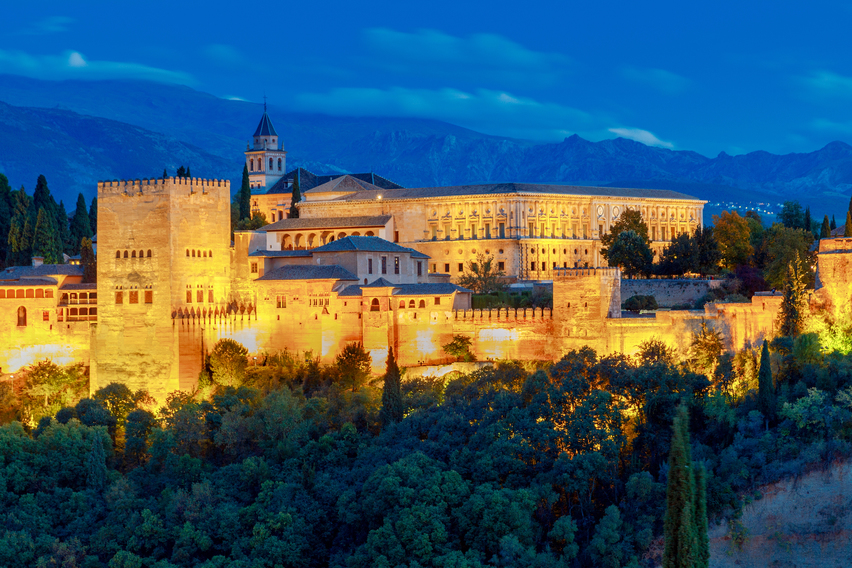
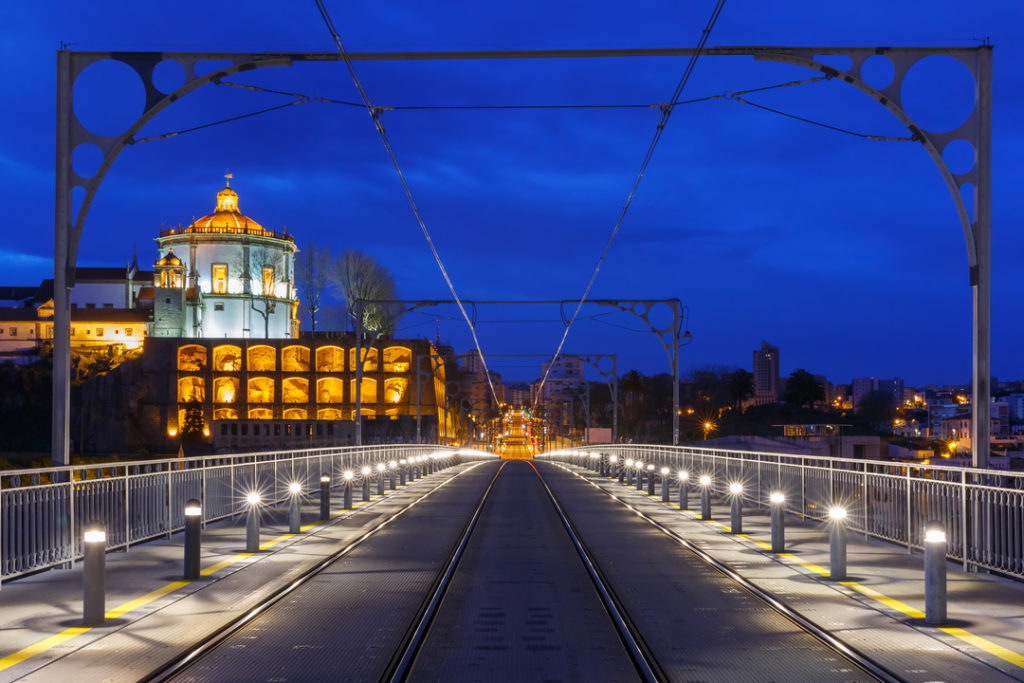
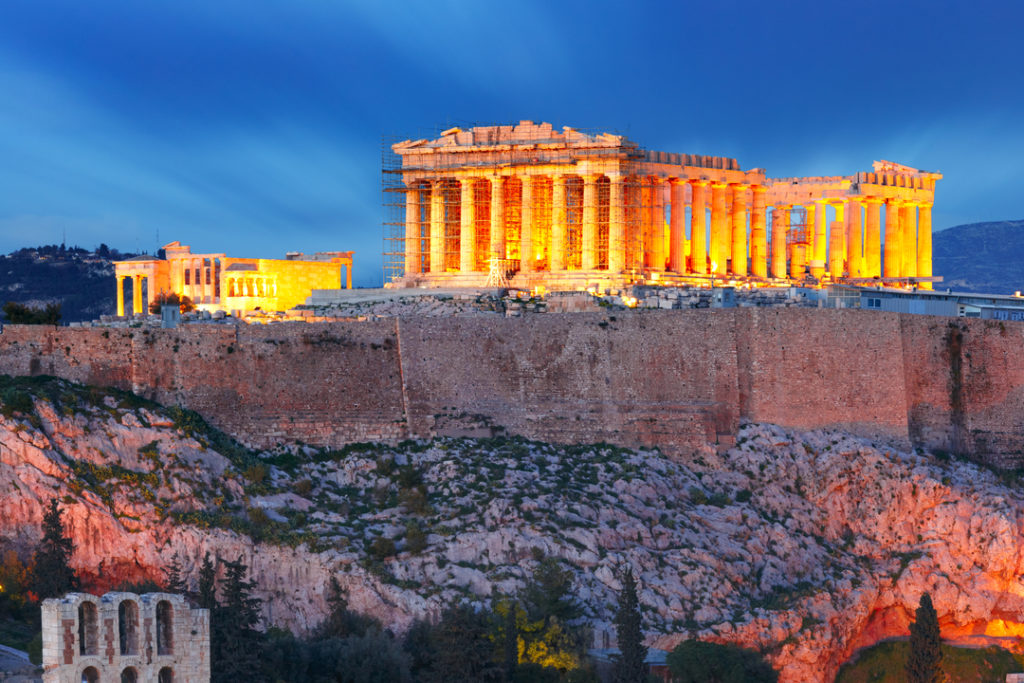
Blue Hour, on the other hand, is the complete opposite of Golden Hour. During the twilight period (both morning and evening), the sky appears in different hues of blue caused by Rayleigh scattering. Blue hour occurs when the sun is below the horizon and will usually last anywhere between 20-30 minutes right after sunset and just before sunrise. The result of this will create moody photographs which you may recognise used in landscape images that include artificial light sources, such as street lamps, buildings and car lights. Because of this, it can be much harder to shoot in than Golden Hour. It requires more patience, scouting for artificial lighting and waiting for just the right amount of blue in the sky to capture the perfect shot.
To keep you inspired to shoot during the winter months, our content team at Ingimage have put together 5 must-know tips to shooting during Blue Hour in order to get the most of this underrated but rewarding photographic window.
- Switch your camera to manual mode/shutter priority
This is the first step you should take as you definitely want to be in complete control of what your camera is capturing. Most professionals are already shooting in manual mode but if you are a beginner, we understand it can be quite daunting to completely switch over. If this is the case, start with shutter priority. You will be able to select a slower shutter speed, which you’ll need in order to shoot during Blue Hour, whilst still allowing your camera to control the rest of the functions for you, such as the aperture and ISO.
- Use a tripod
When shooting with a slower shutter speed, a tripod is a must. Attempting to hold your camera during a long exposure will result in a blurry image and camera shake. Set up your shot with a tripod so that you don’t have to worry about keeping absolutely still whilst your exposure is created. You can also add a shutter release to your camera to avoid even further camera shake but using just a tripod will do the trick.
- Scout the best location(s)
This isn’t always easy but location will make all the difference to your pictures. Finding a good location to shoot during Blue Hour is just as important as when shooting a sunset. You want to look for somewhere with a wide landscape space that will allow you to capture a wide variety of subject matters, making your images more captivating to the eye. A location with different angles and view points means minimal scouting for you as you can simply experiment with different techniques and angles from one spot.
- Incorporate artificial lighting
We previously mentioned long exposures and this will have a huge impact on the final result. You want to look for locations that have architectural buildings and structures (bridges, churches, monuments, neon signs etc) as invariably these will already provide some sort of artificial lighting to bring your images to life. Do be aware of how close you are to your subject matter though, as this can cause lens flare.
- Be patient
It goes without saying, but patience is key when it comes to shooting during Blue Hour! This is applied especially if it’s your first time doing so as it can take a few runs to get the hang of your exposure and lighting. Don’t give up and keep shooting, even when the city lights turn on. There is a point in which the colour of sky becomes perfectly balanced with the lights in the city and this is exactly what you want to capture. Finding the balance between that blue hue and complete blackness is key to creating the perfect Blue Hour shot. To see more examples of Blue Hour imagery, see the full Ingimage Blue Hour lightbox.






No Comments